One of my Design Mantras, “Beauty On A Budget” had it’s origins very early in my life. Growing up with three sisters I was told early on that if i wanted any NEW clothes I would have to make them myself. THAT’LL get ya moving! Here’s a little more on that storyline, excerpted from REDESIGNING CHURCHES…
I remember one day after school when money was fairly tight. My younger sister Tamie and I badly wanted blazers we’d seen in a shop but we didn’t have the fabric to make them ourselves. Not to be discouraged we dug copious fabric scraps out of the box in the pantry, cut them into squares and sewed all the squares together, then cut our blazers out of this piece-mealed yardage. We got those jackets after all. Of course, that was before patchwork was cool…
The point is, I never really consider lack of money as an obstacle. I know that my media-savvy coworkers absolutely must pay real cash for the techno items on their wish lists but I have the luxury of a lot of do-it-yourself-ishness. Rather than embark on a makeover project thinking about how much this is going to cost us I find myself fully focusing on how we can do the project before us for as little cash – and as much class – as possible… beauty on a budget.
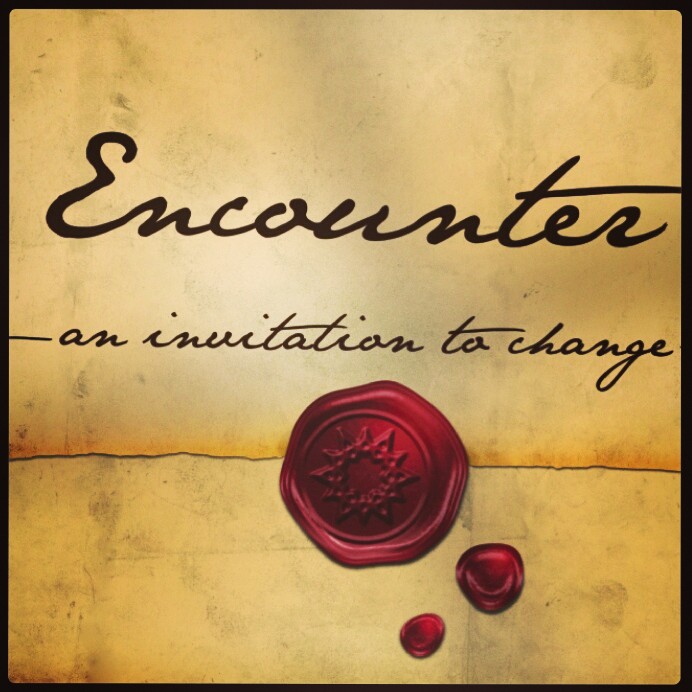
When we first created the Old World look for our Lenten series graphic (Encounters: an invitation to change) I began thinking about what we already had in our stash that could contribute to the stage look. AND one of my favorite creative mediums is brown paper – but in this case i wondered if we could create a textured Old World backdrop by wadding up then smoothing out the paper. Why not try it? Here are some of the details of the process:

- 3 rolls of brown paper creates our old world stage environment – yep, that’s it.
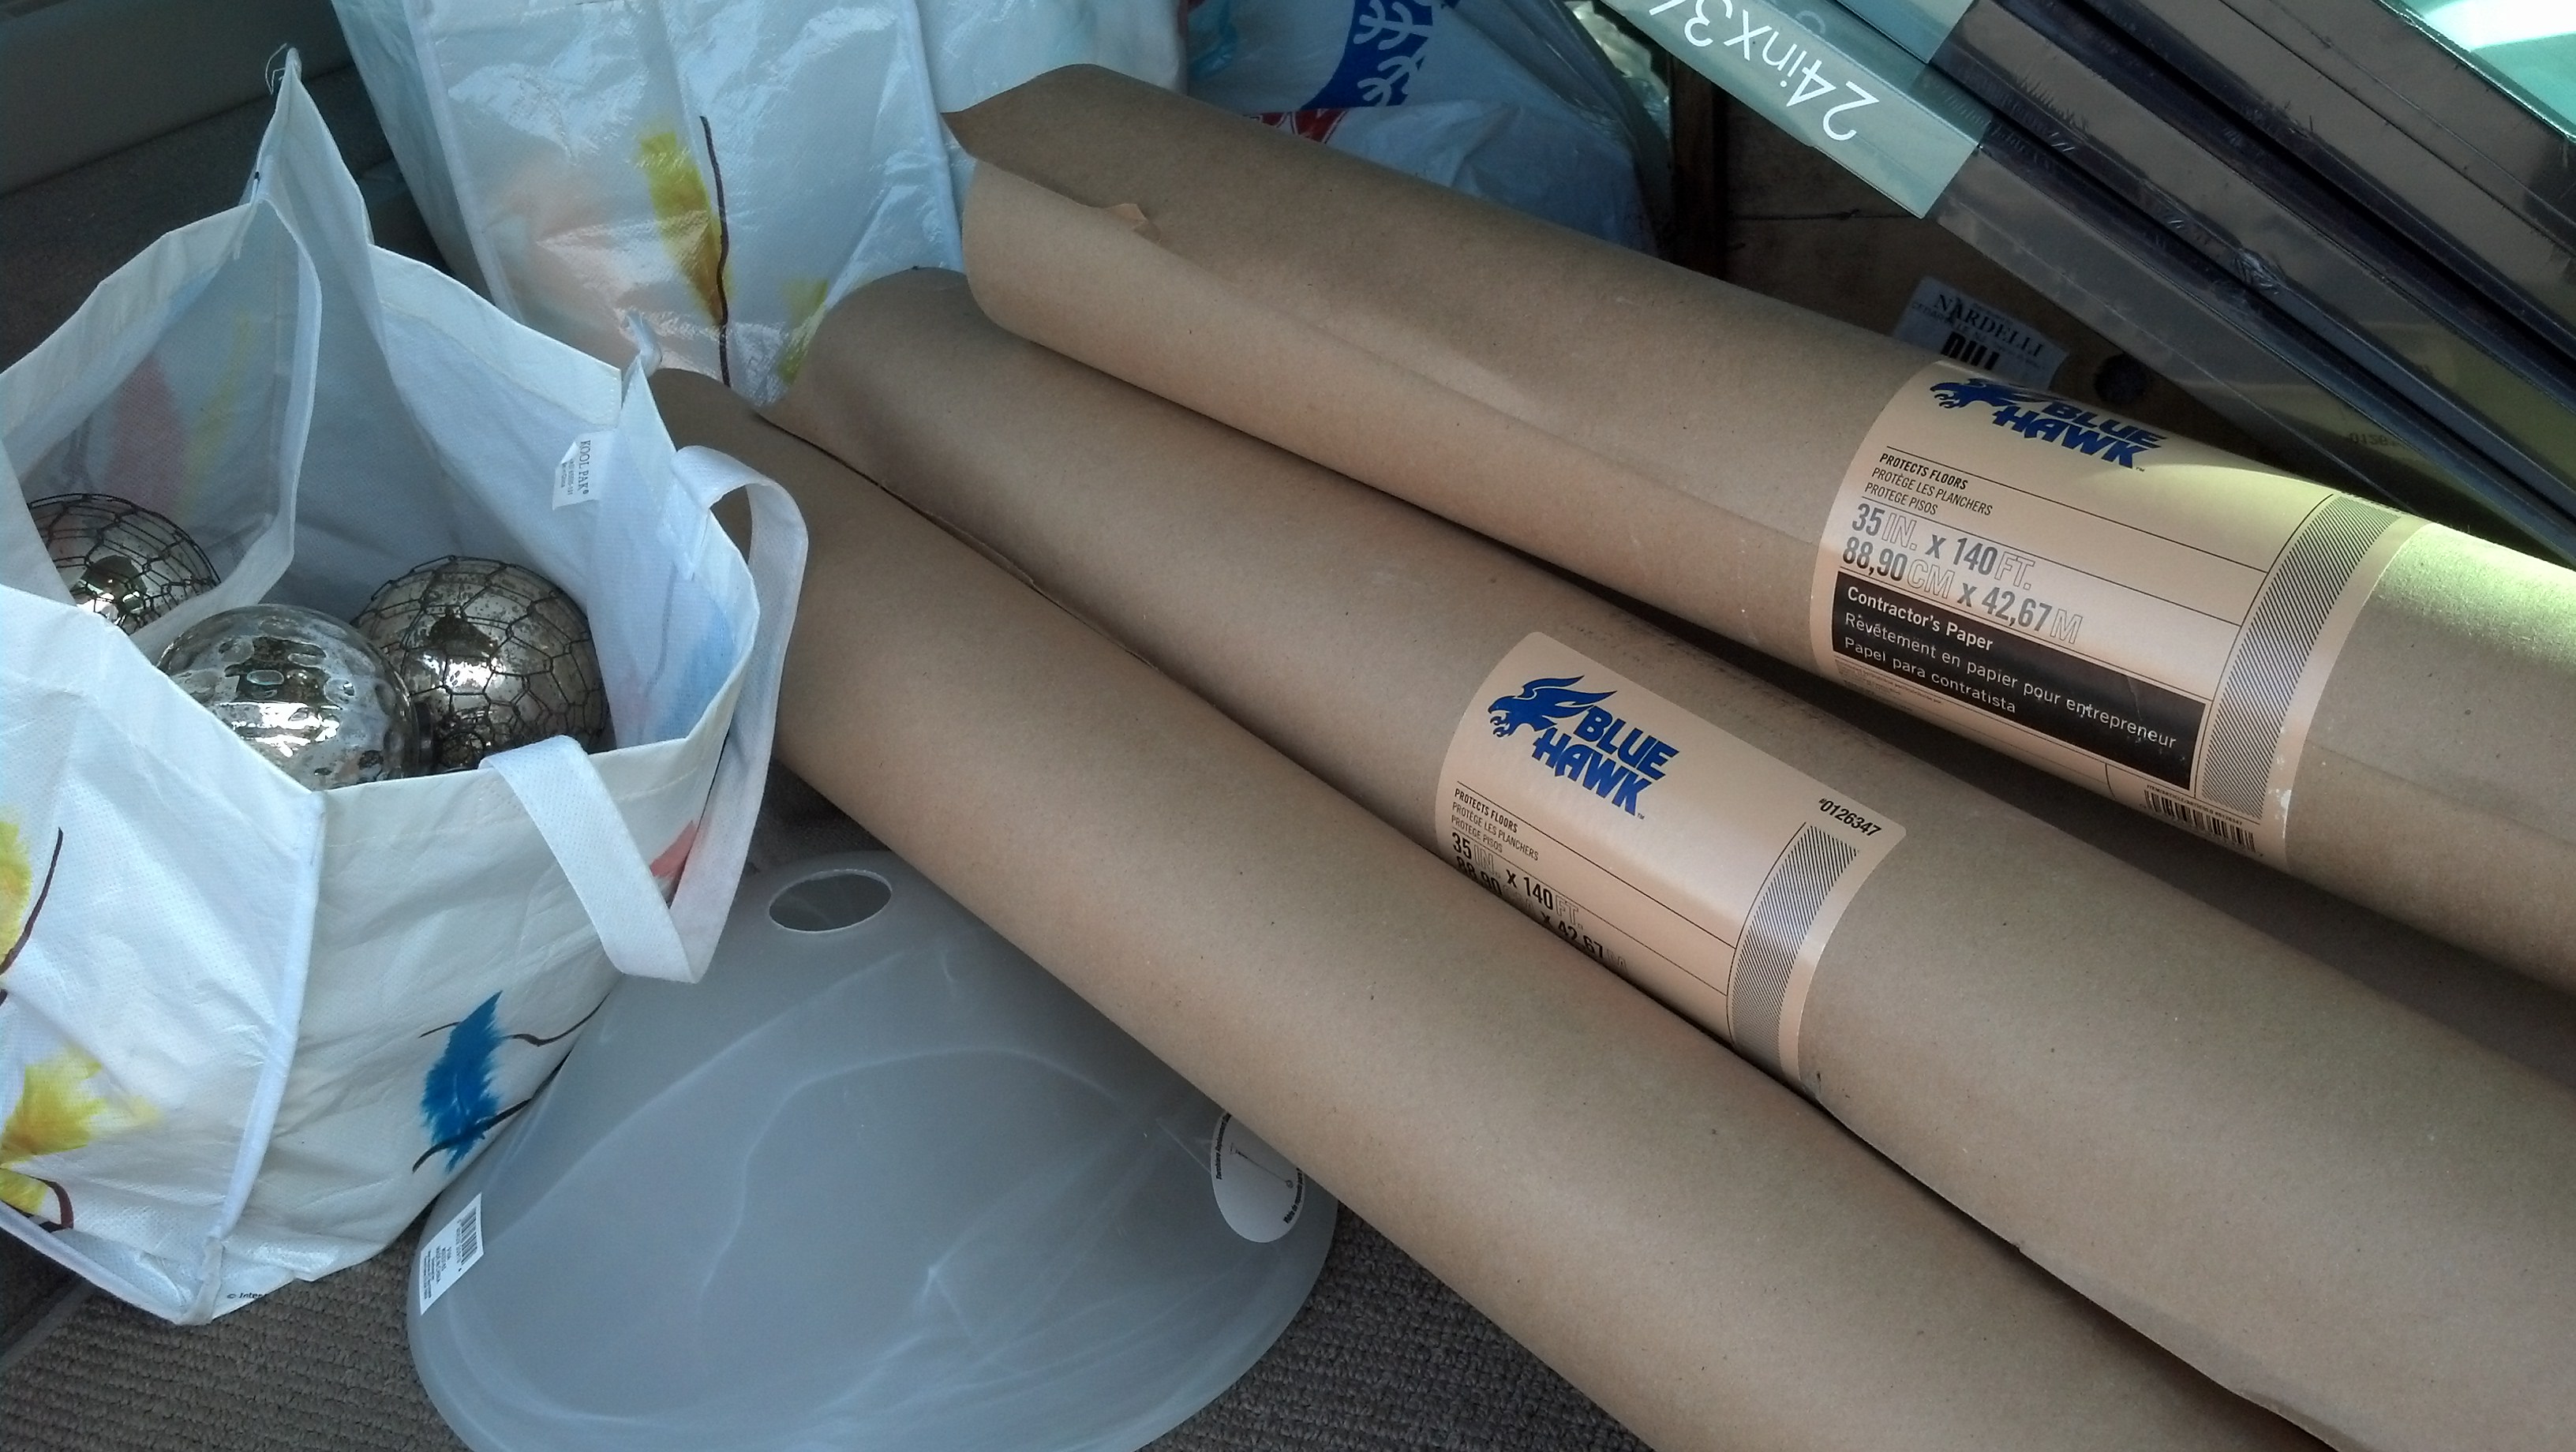

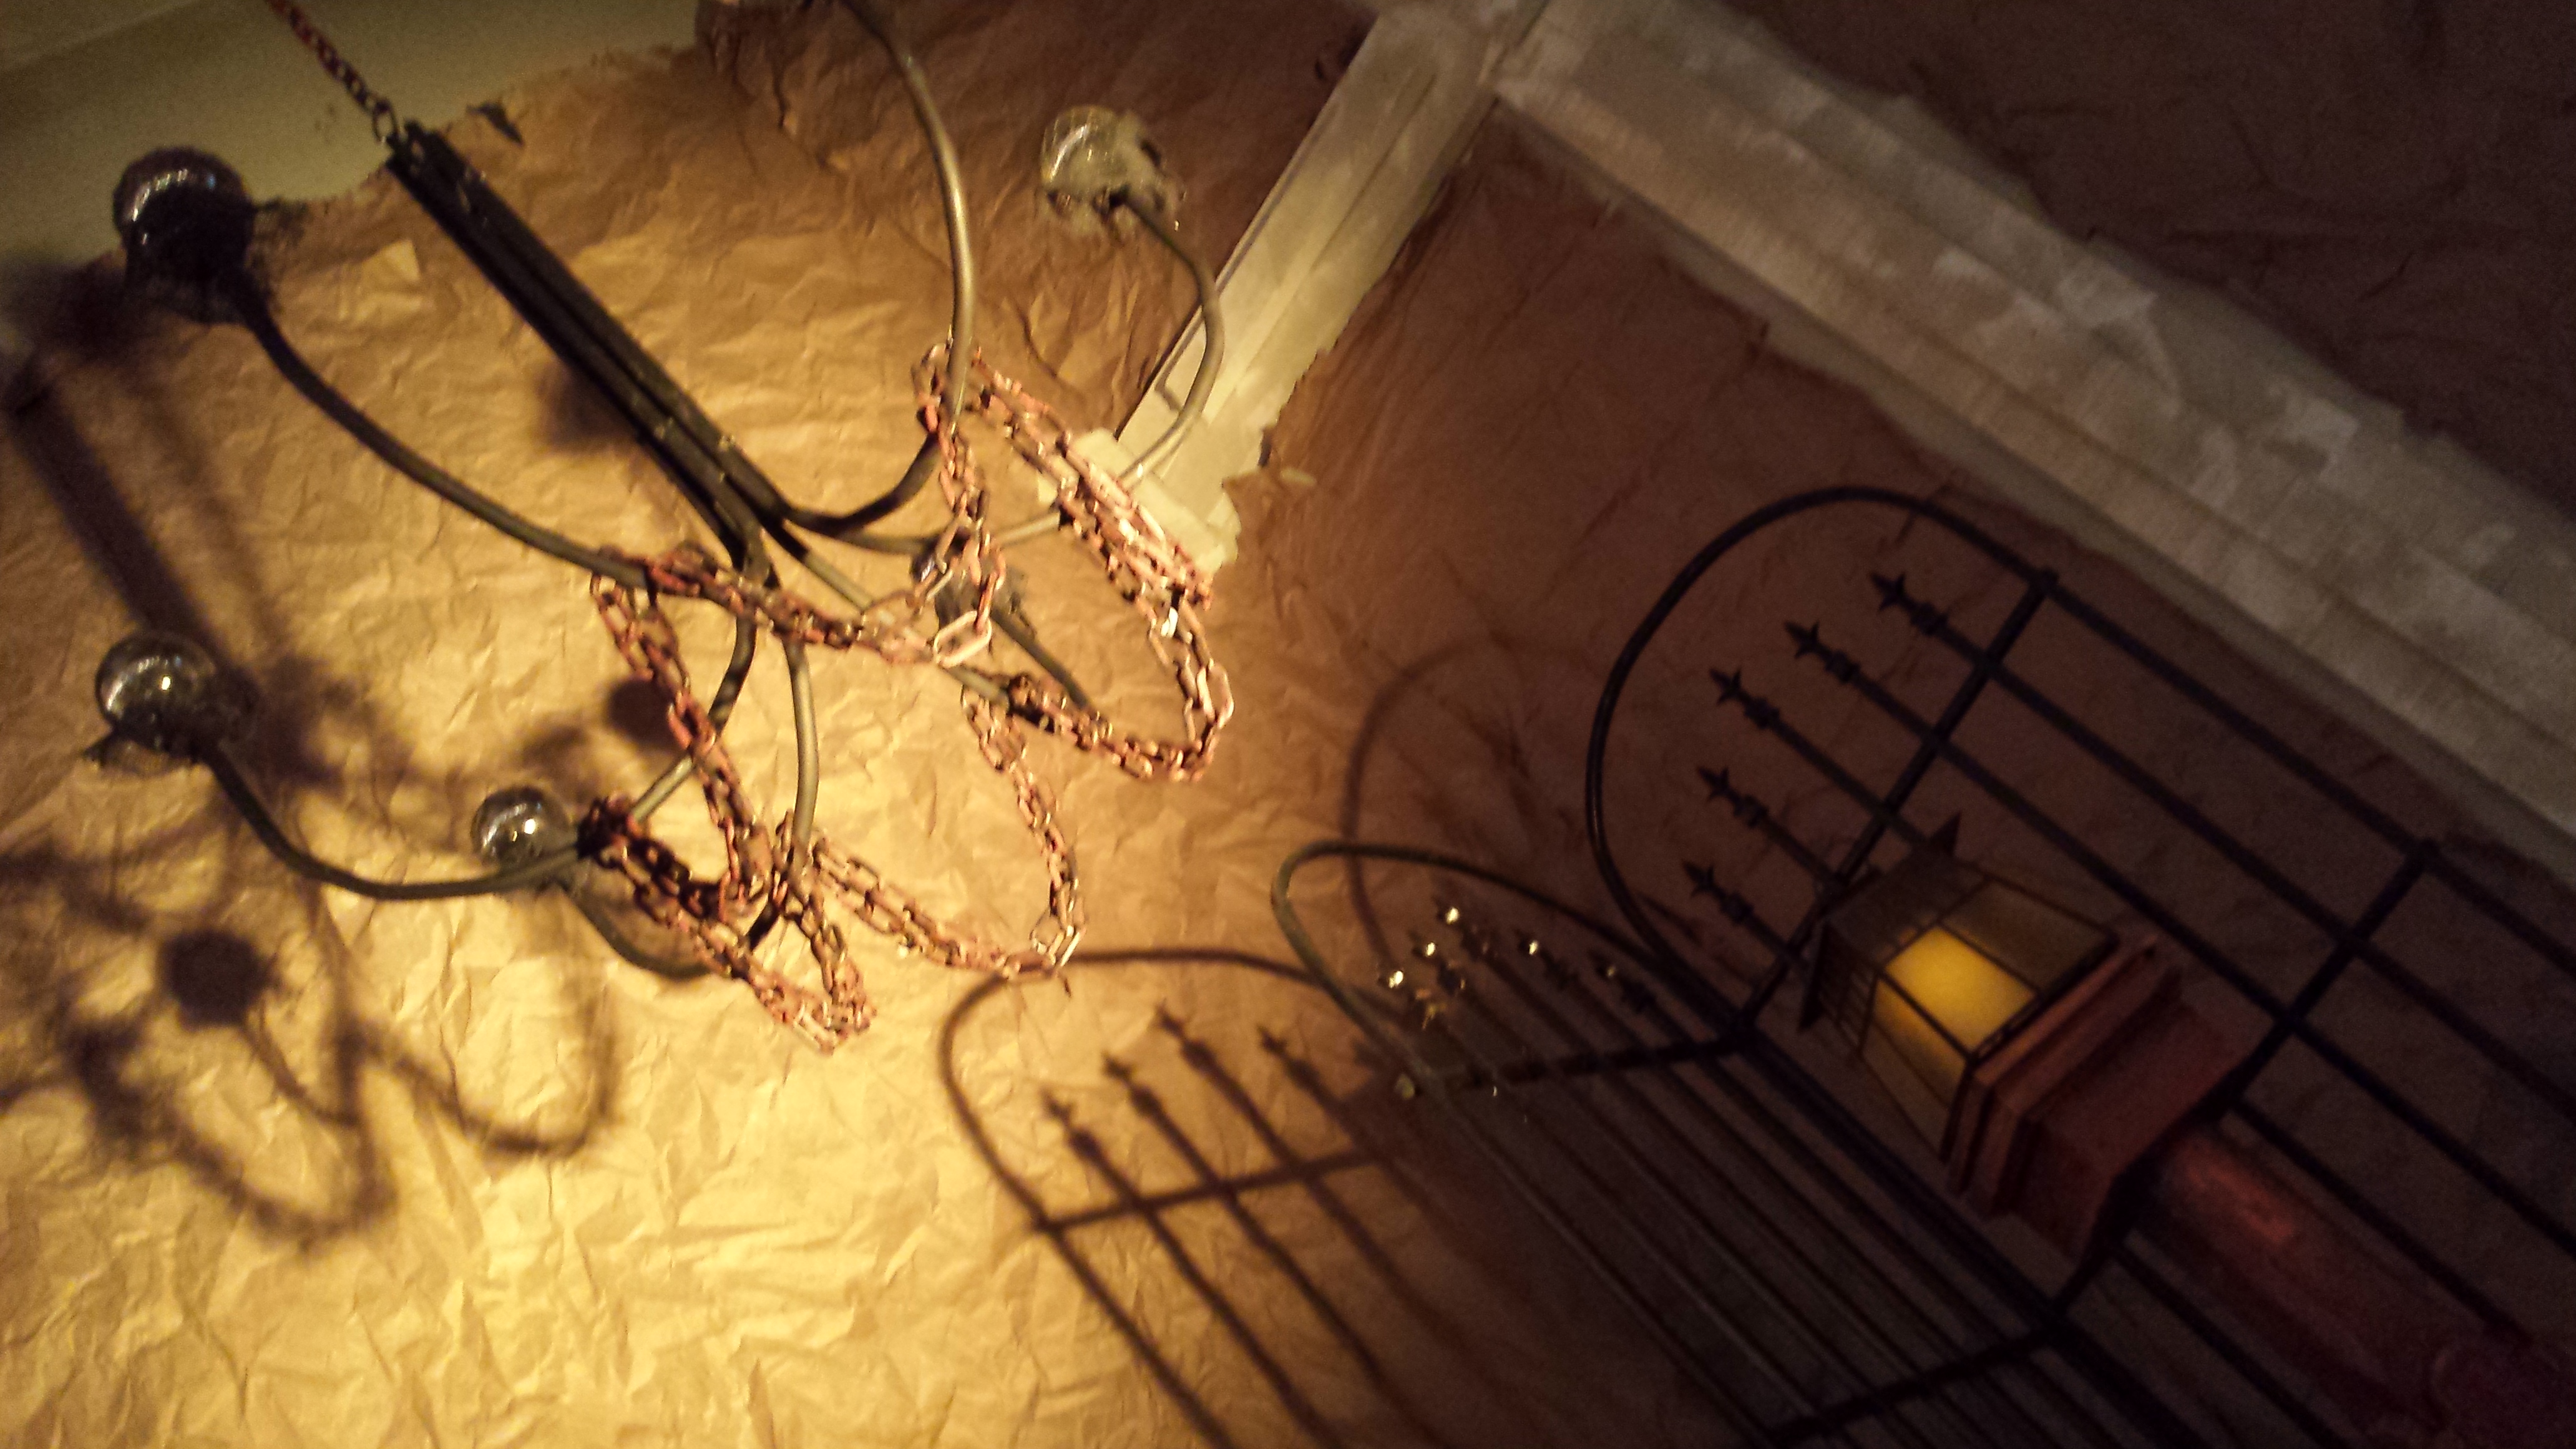
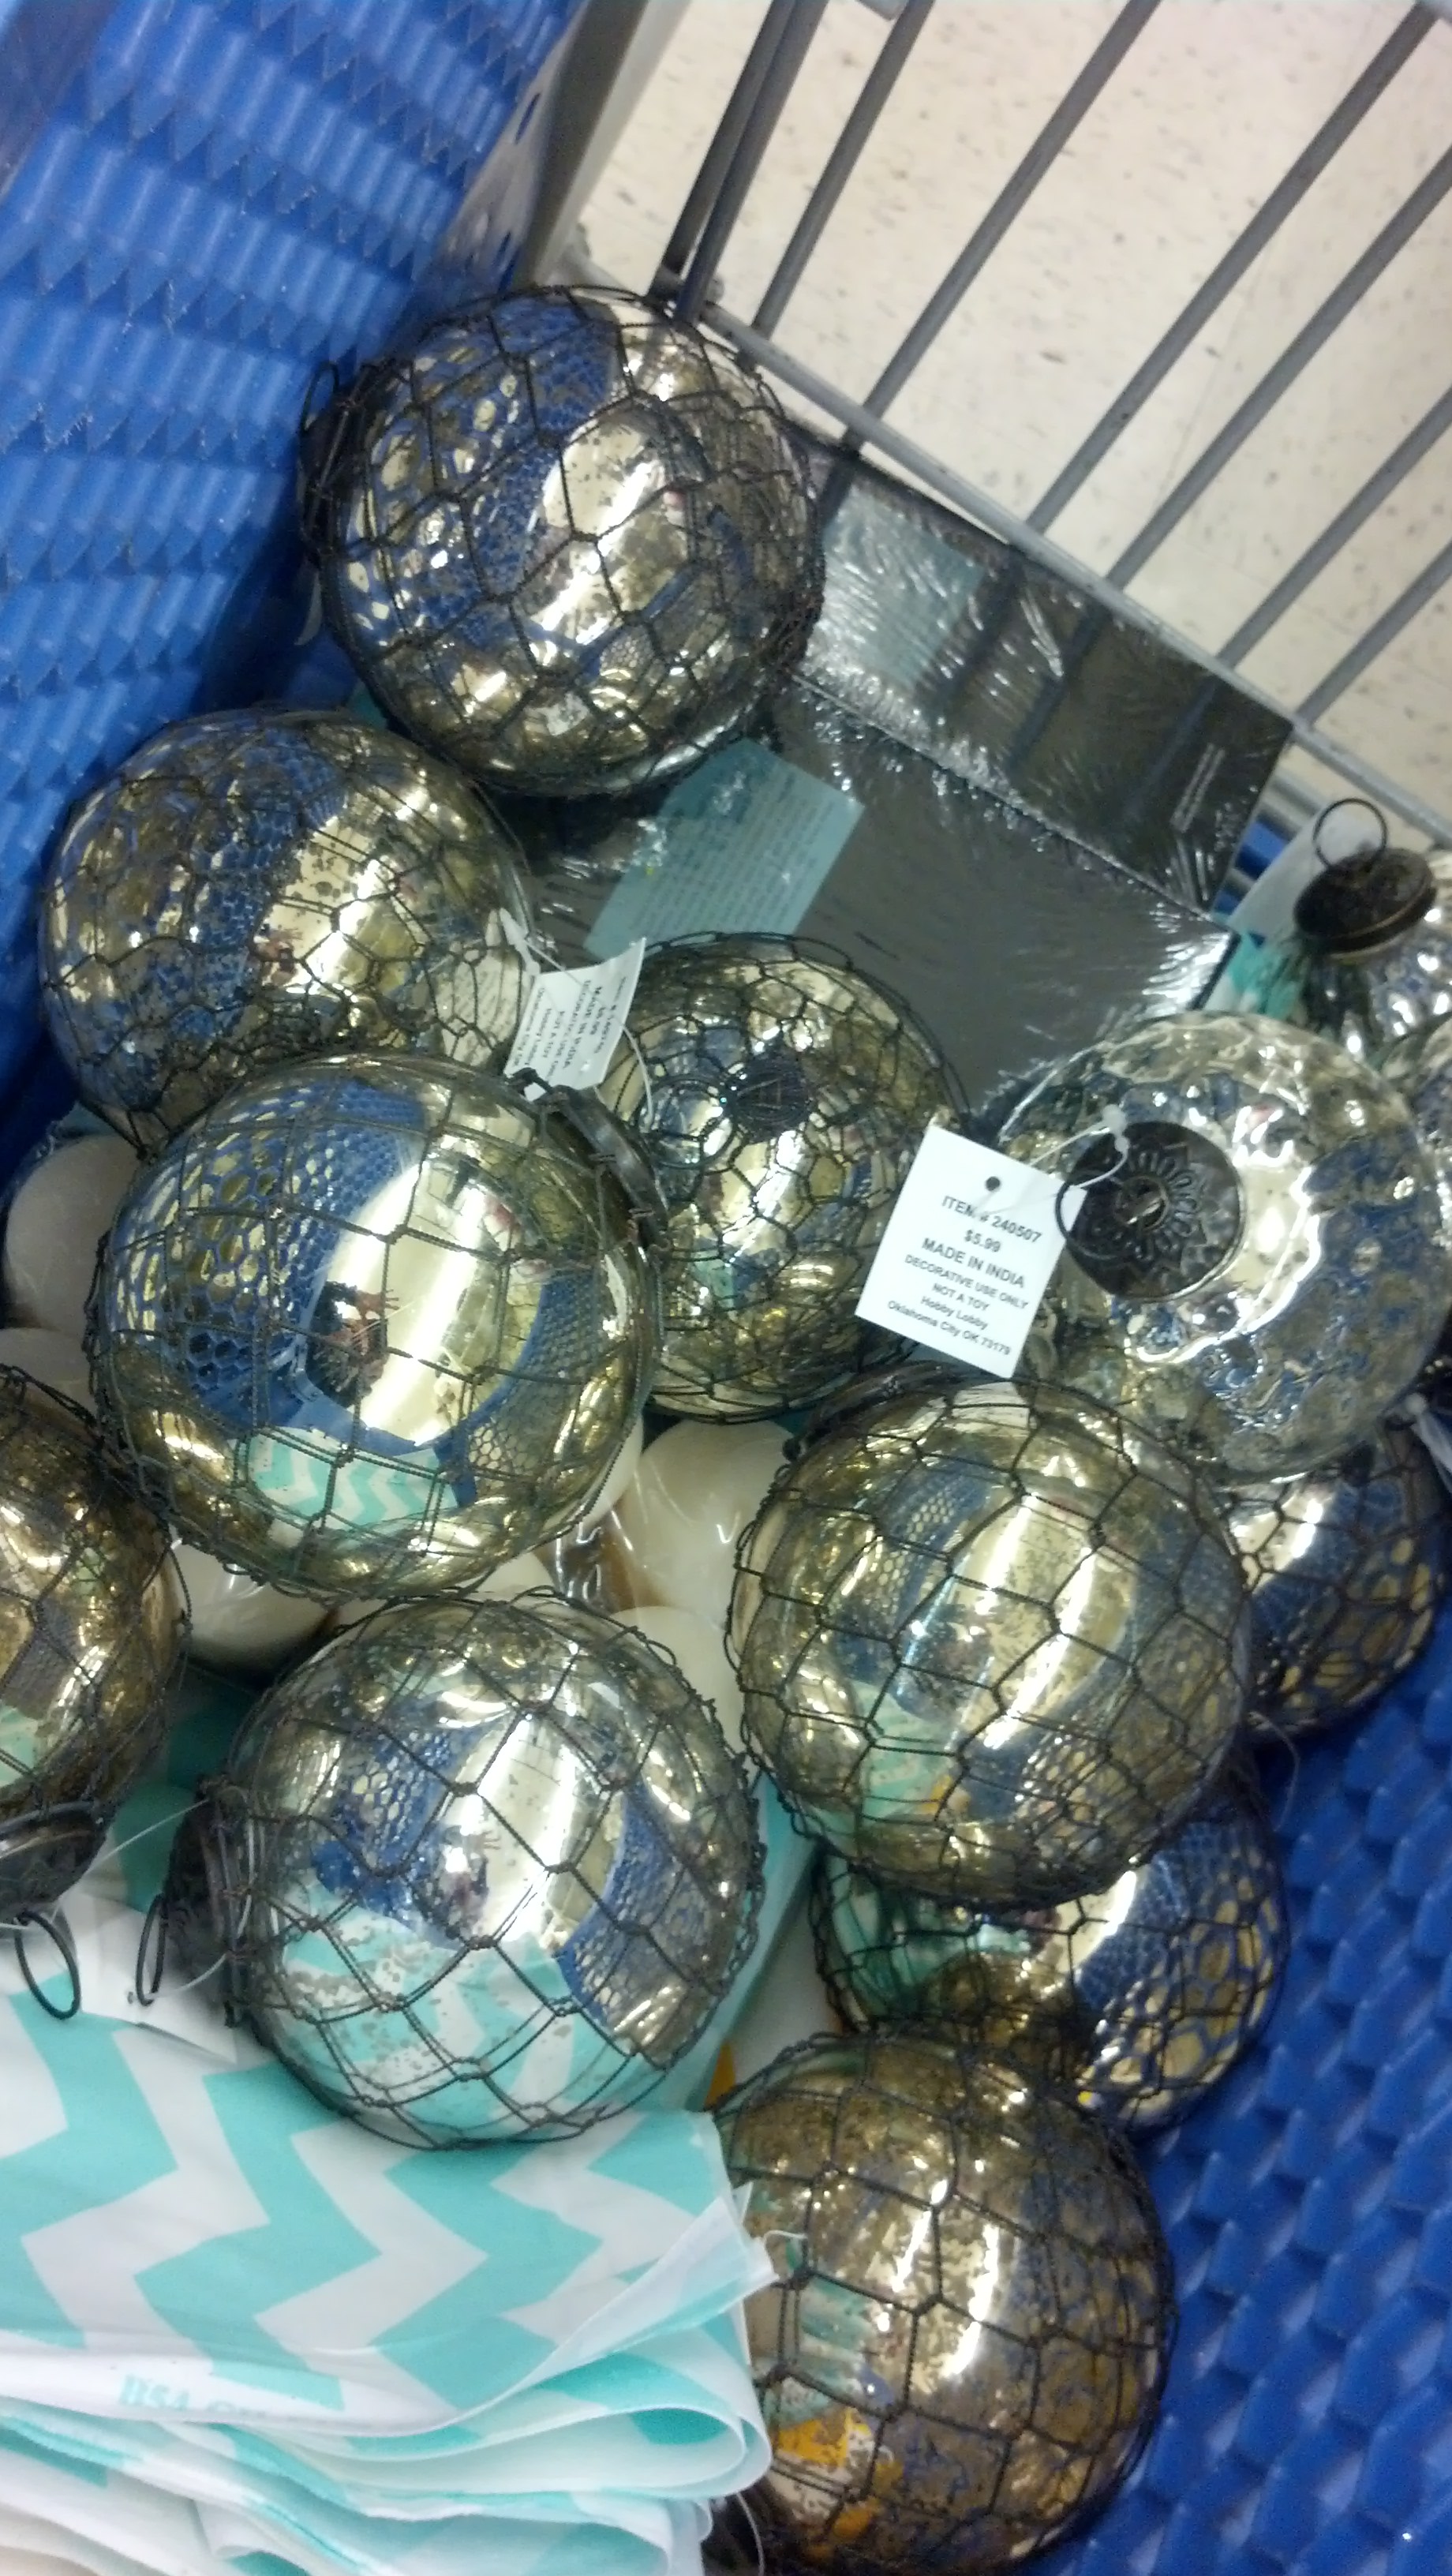
- Simple mercury-painted ornaments at half price were a genius way to make our hand-made, welded-pipe chandeliers appear to be lit. we glued these little gems onto the arms and once the stage lights hit them – wha-la!

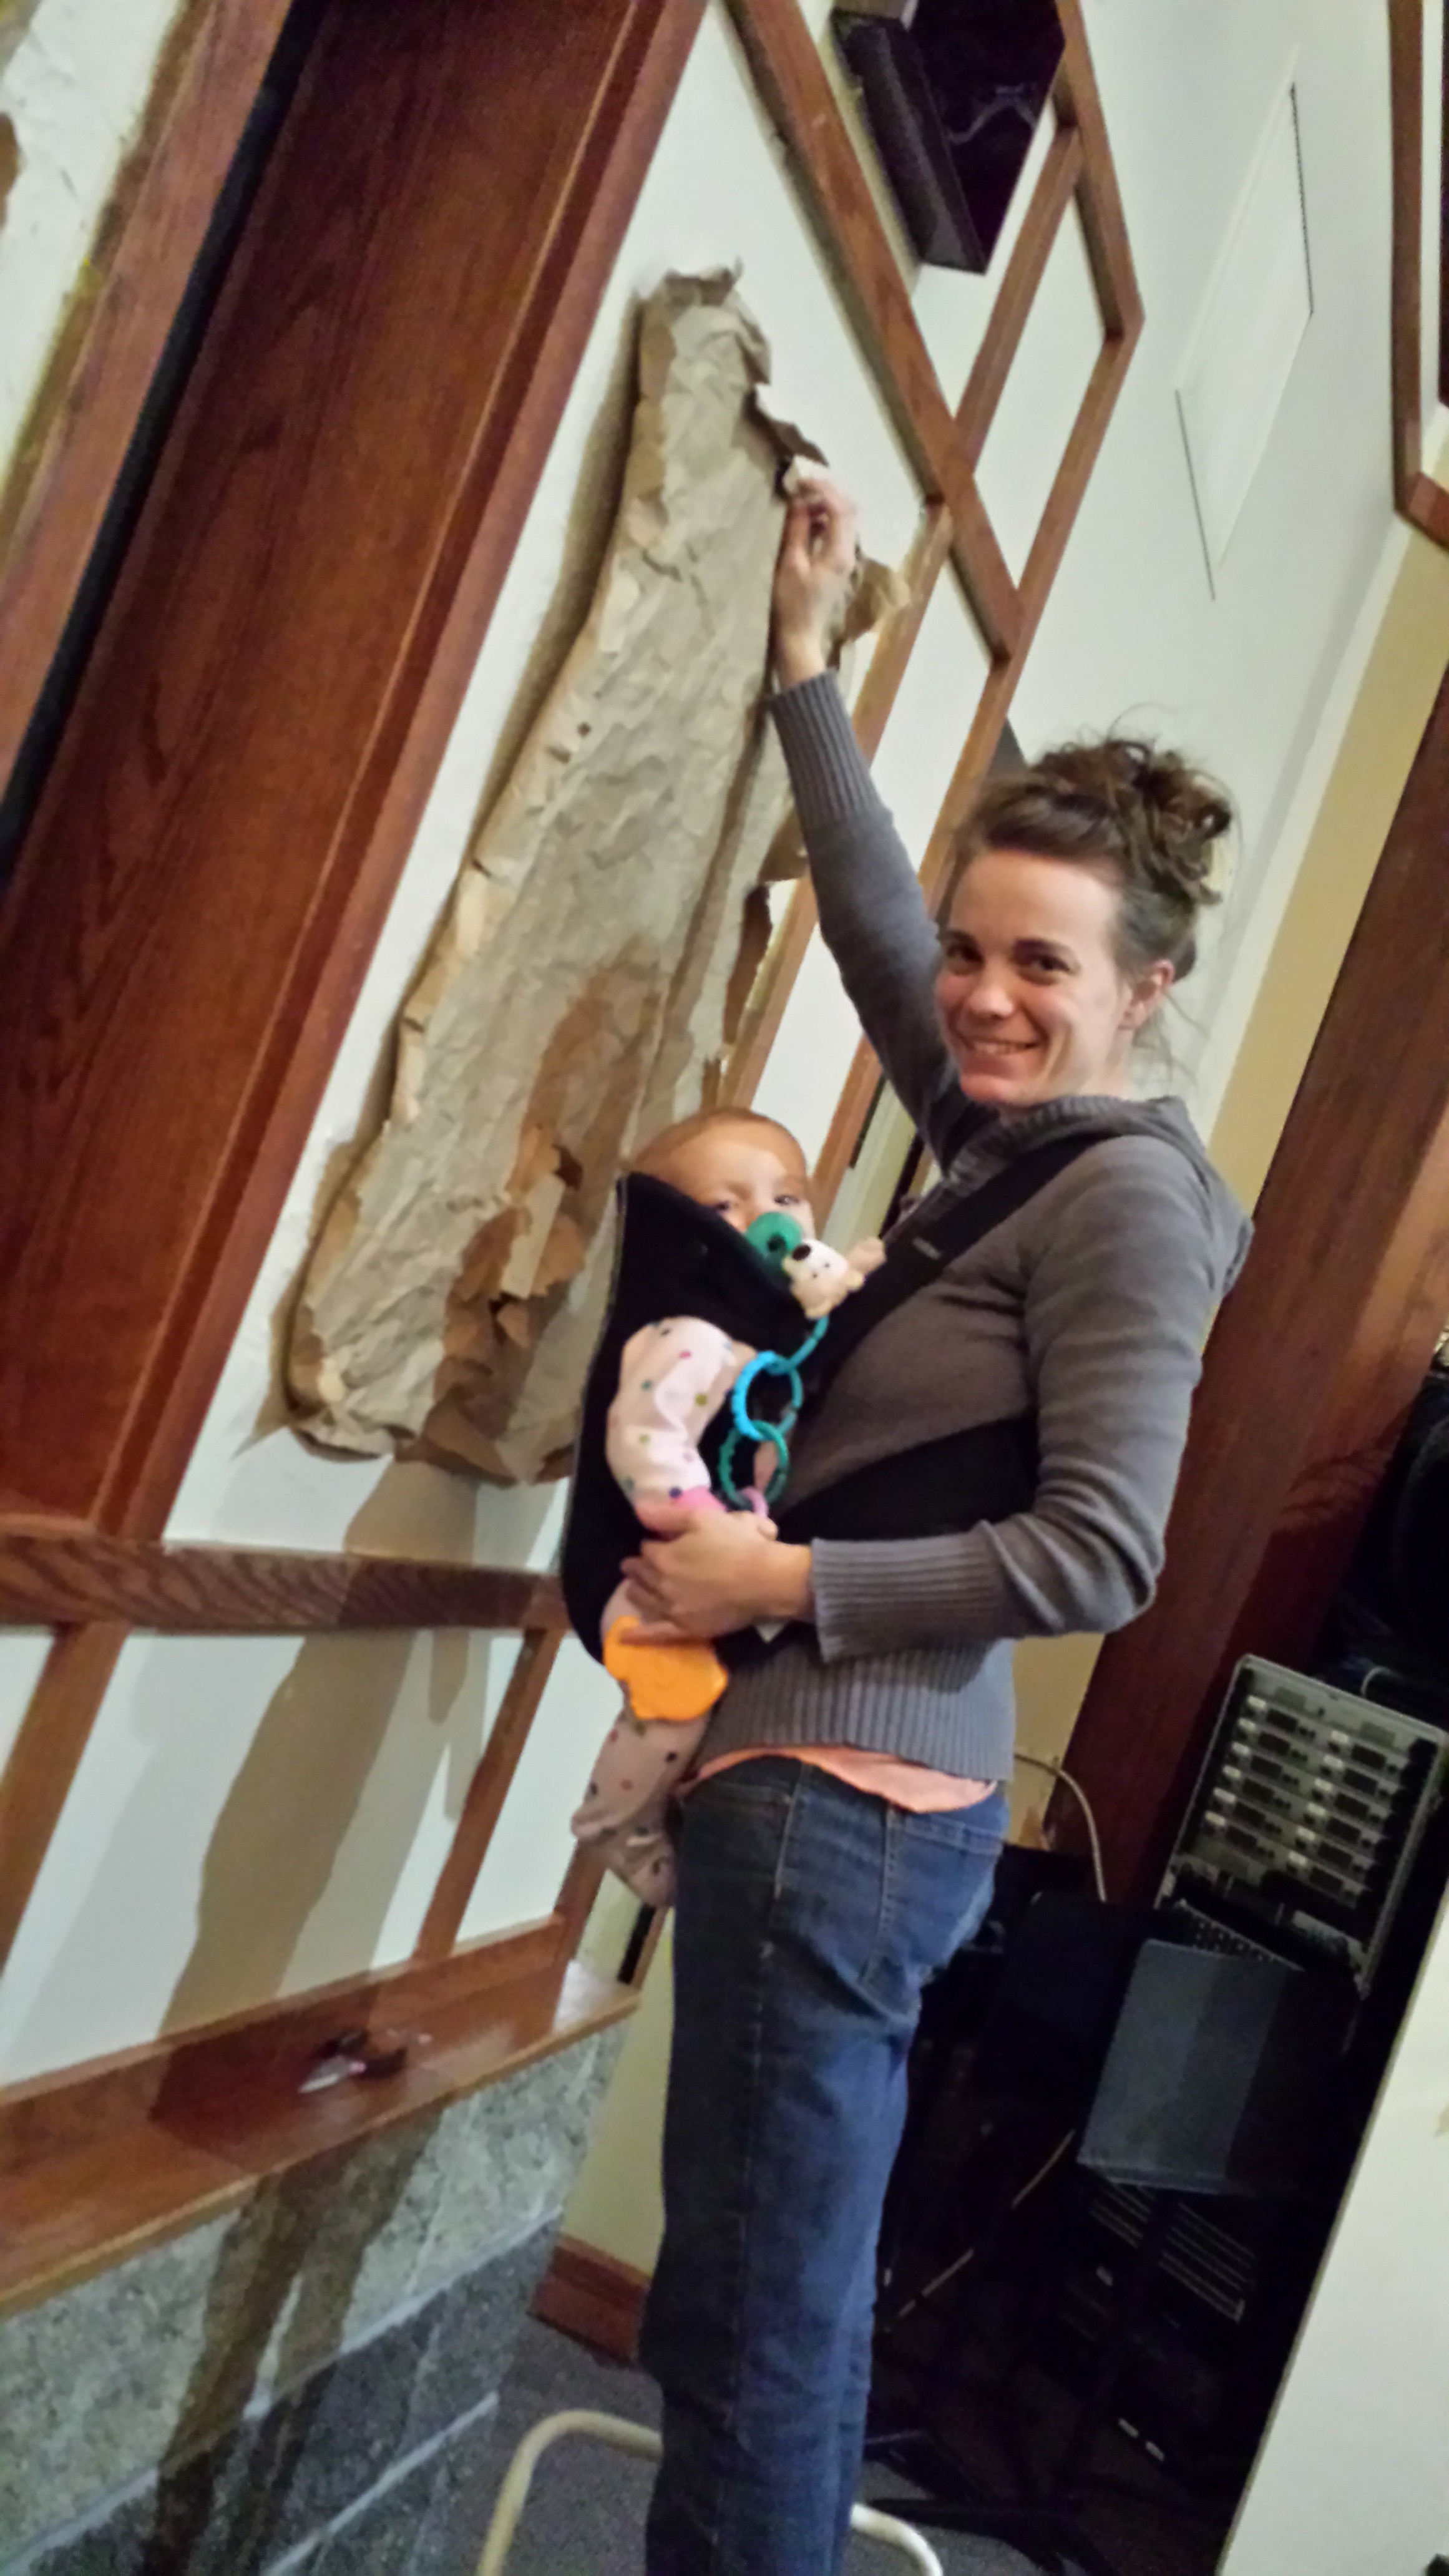
- My new favorite team member, Piper Freeman, is helping Mama Madison do the work!

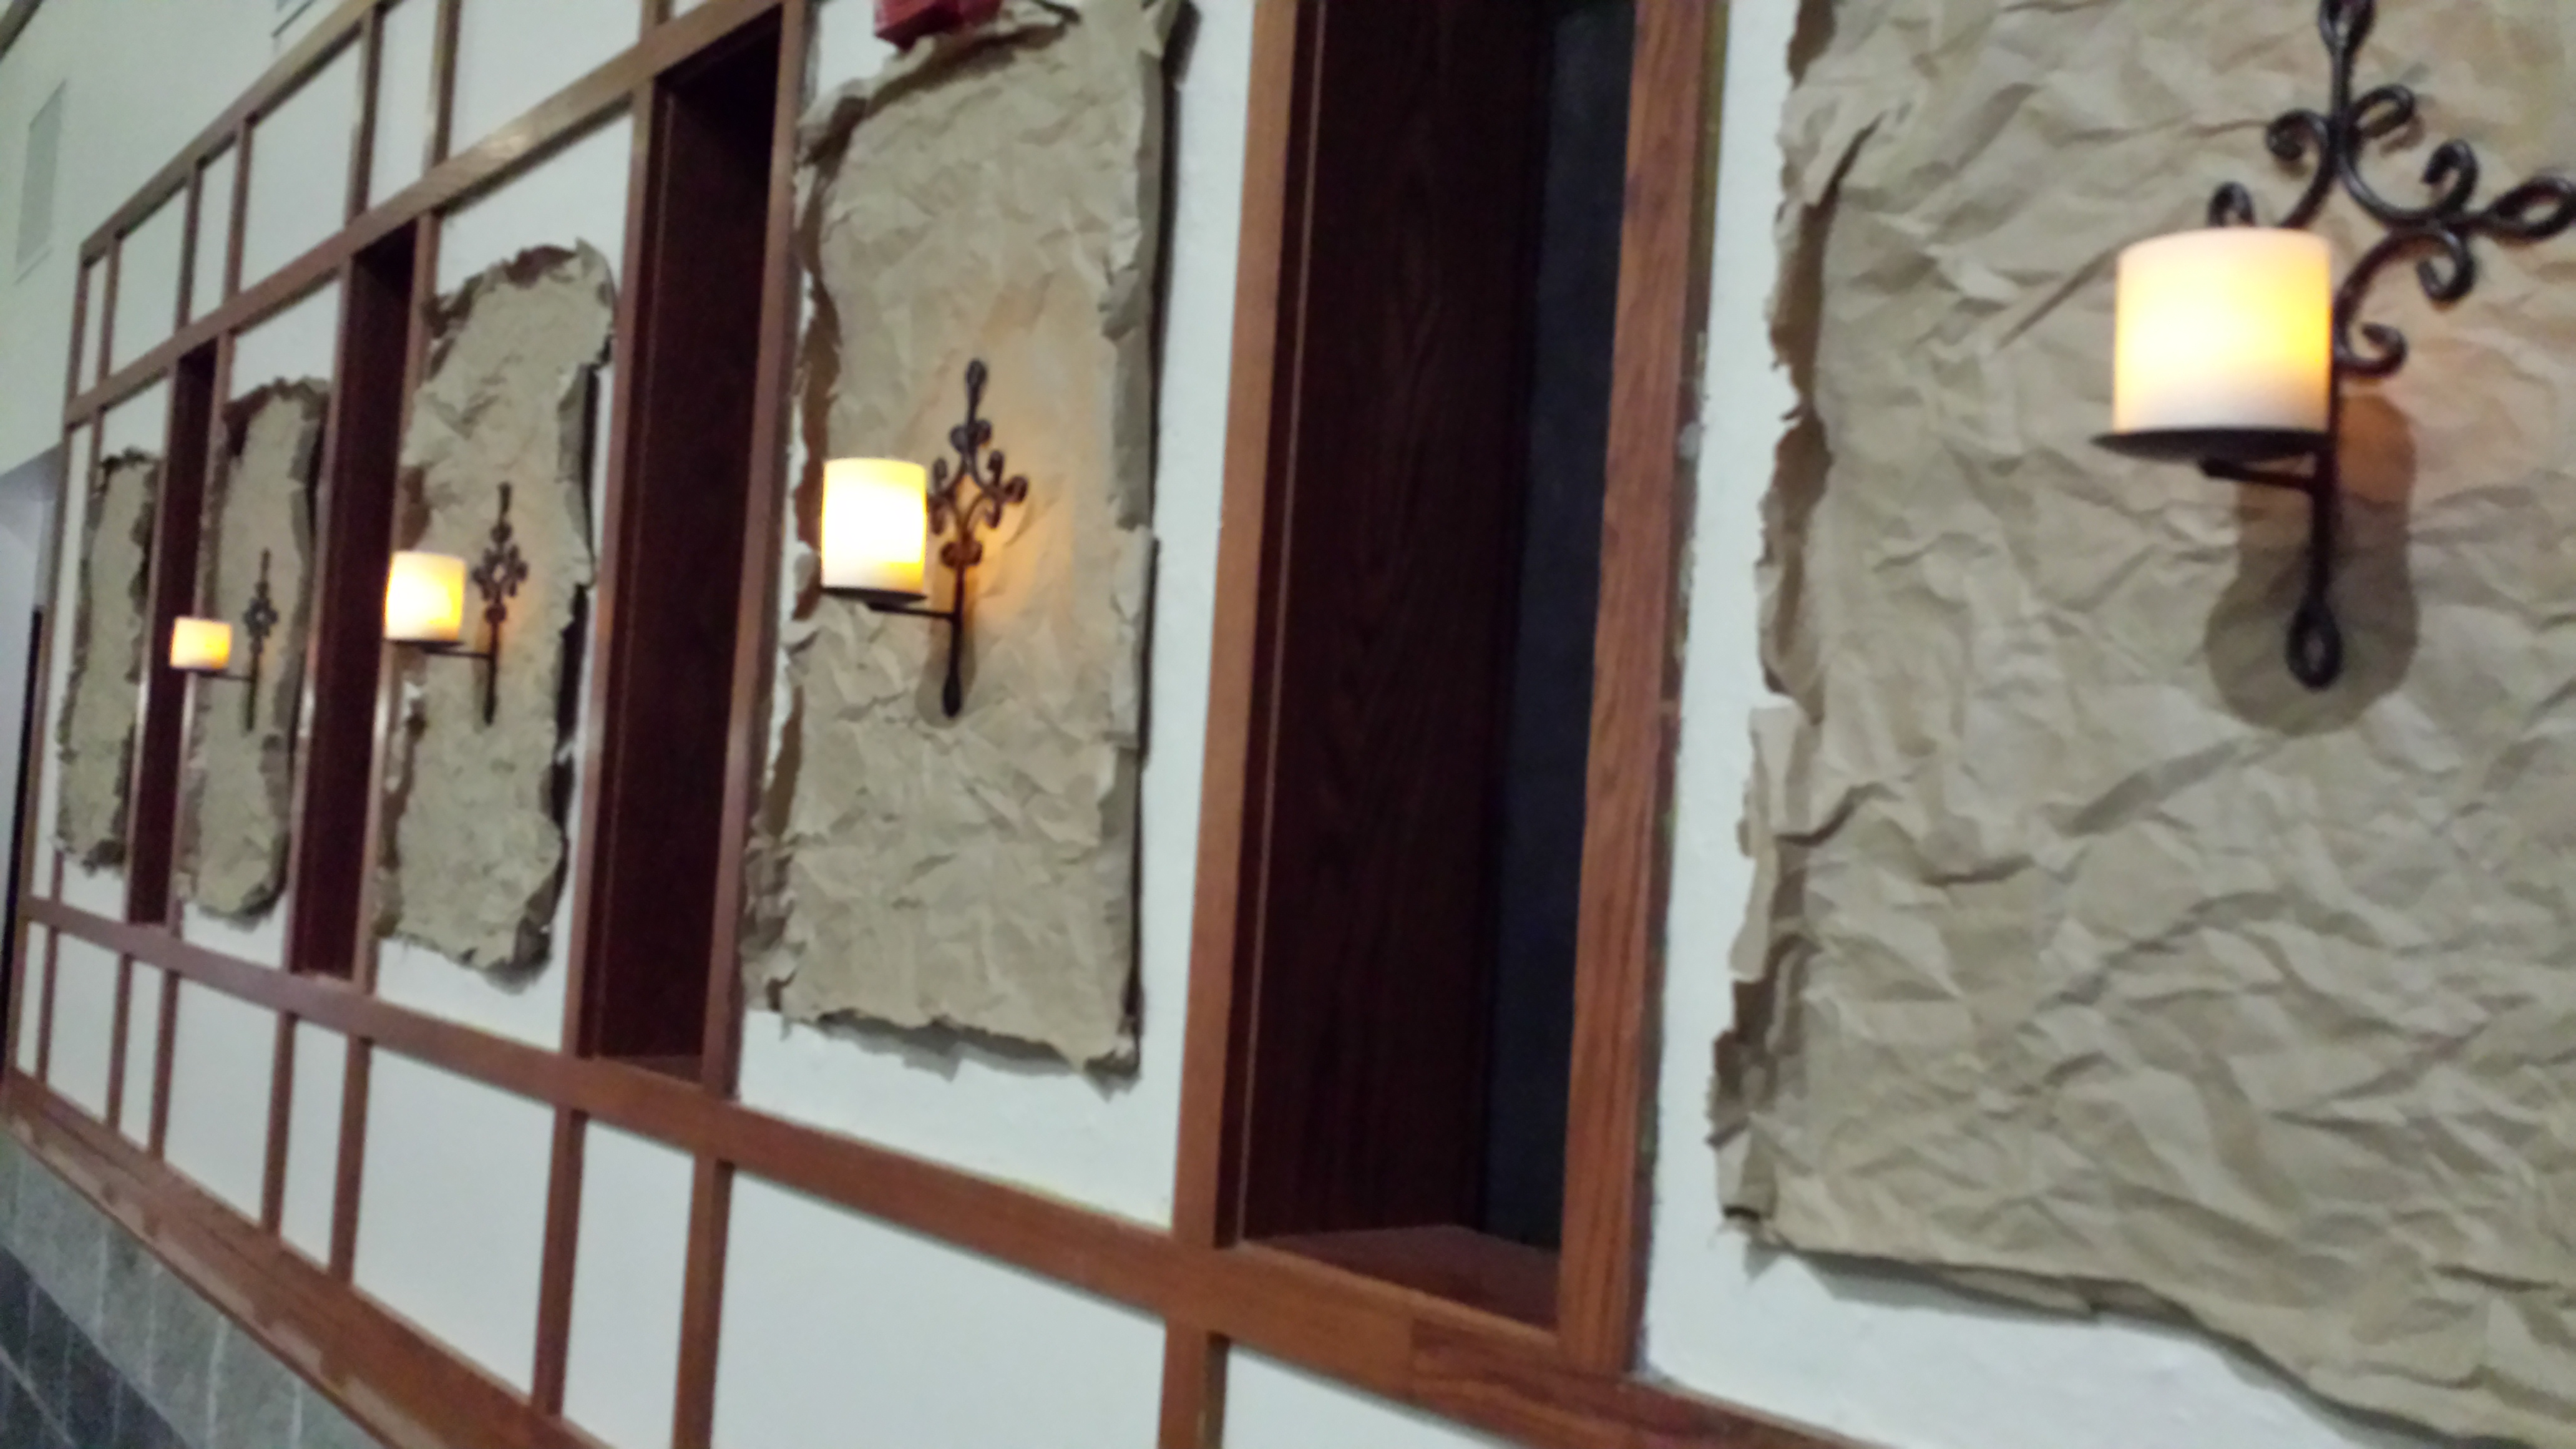
- A side wall closeup revels the brown paper process of measured and torn pieces waded up, smoothed out and edges torn and crimped. the trusty sconces are a faithful standby for creating an intimate setting.
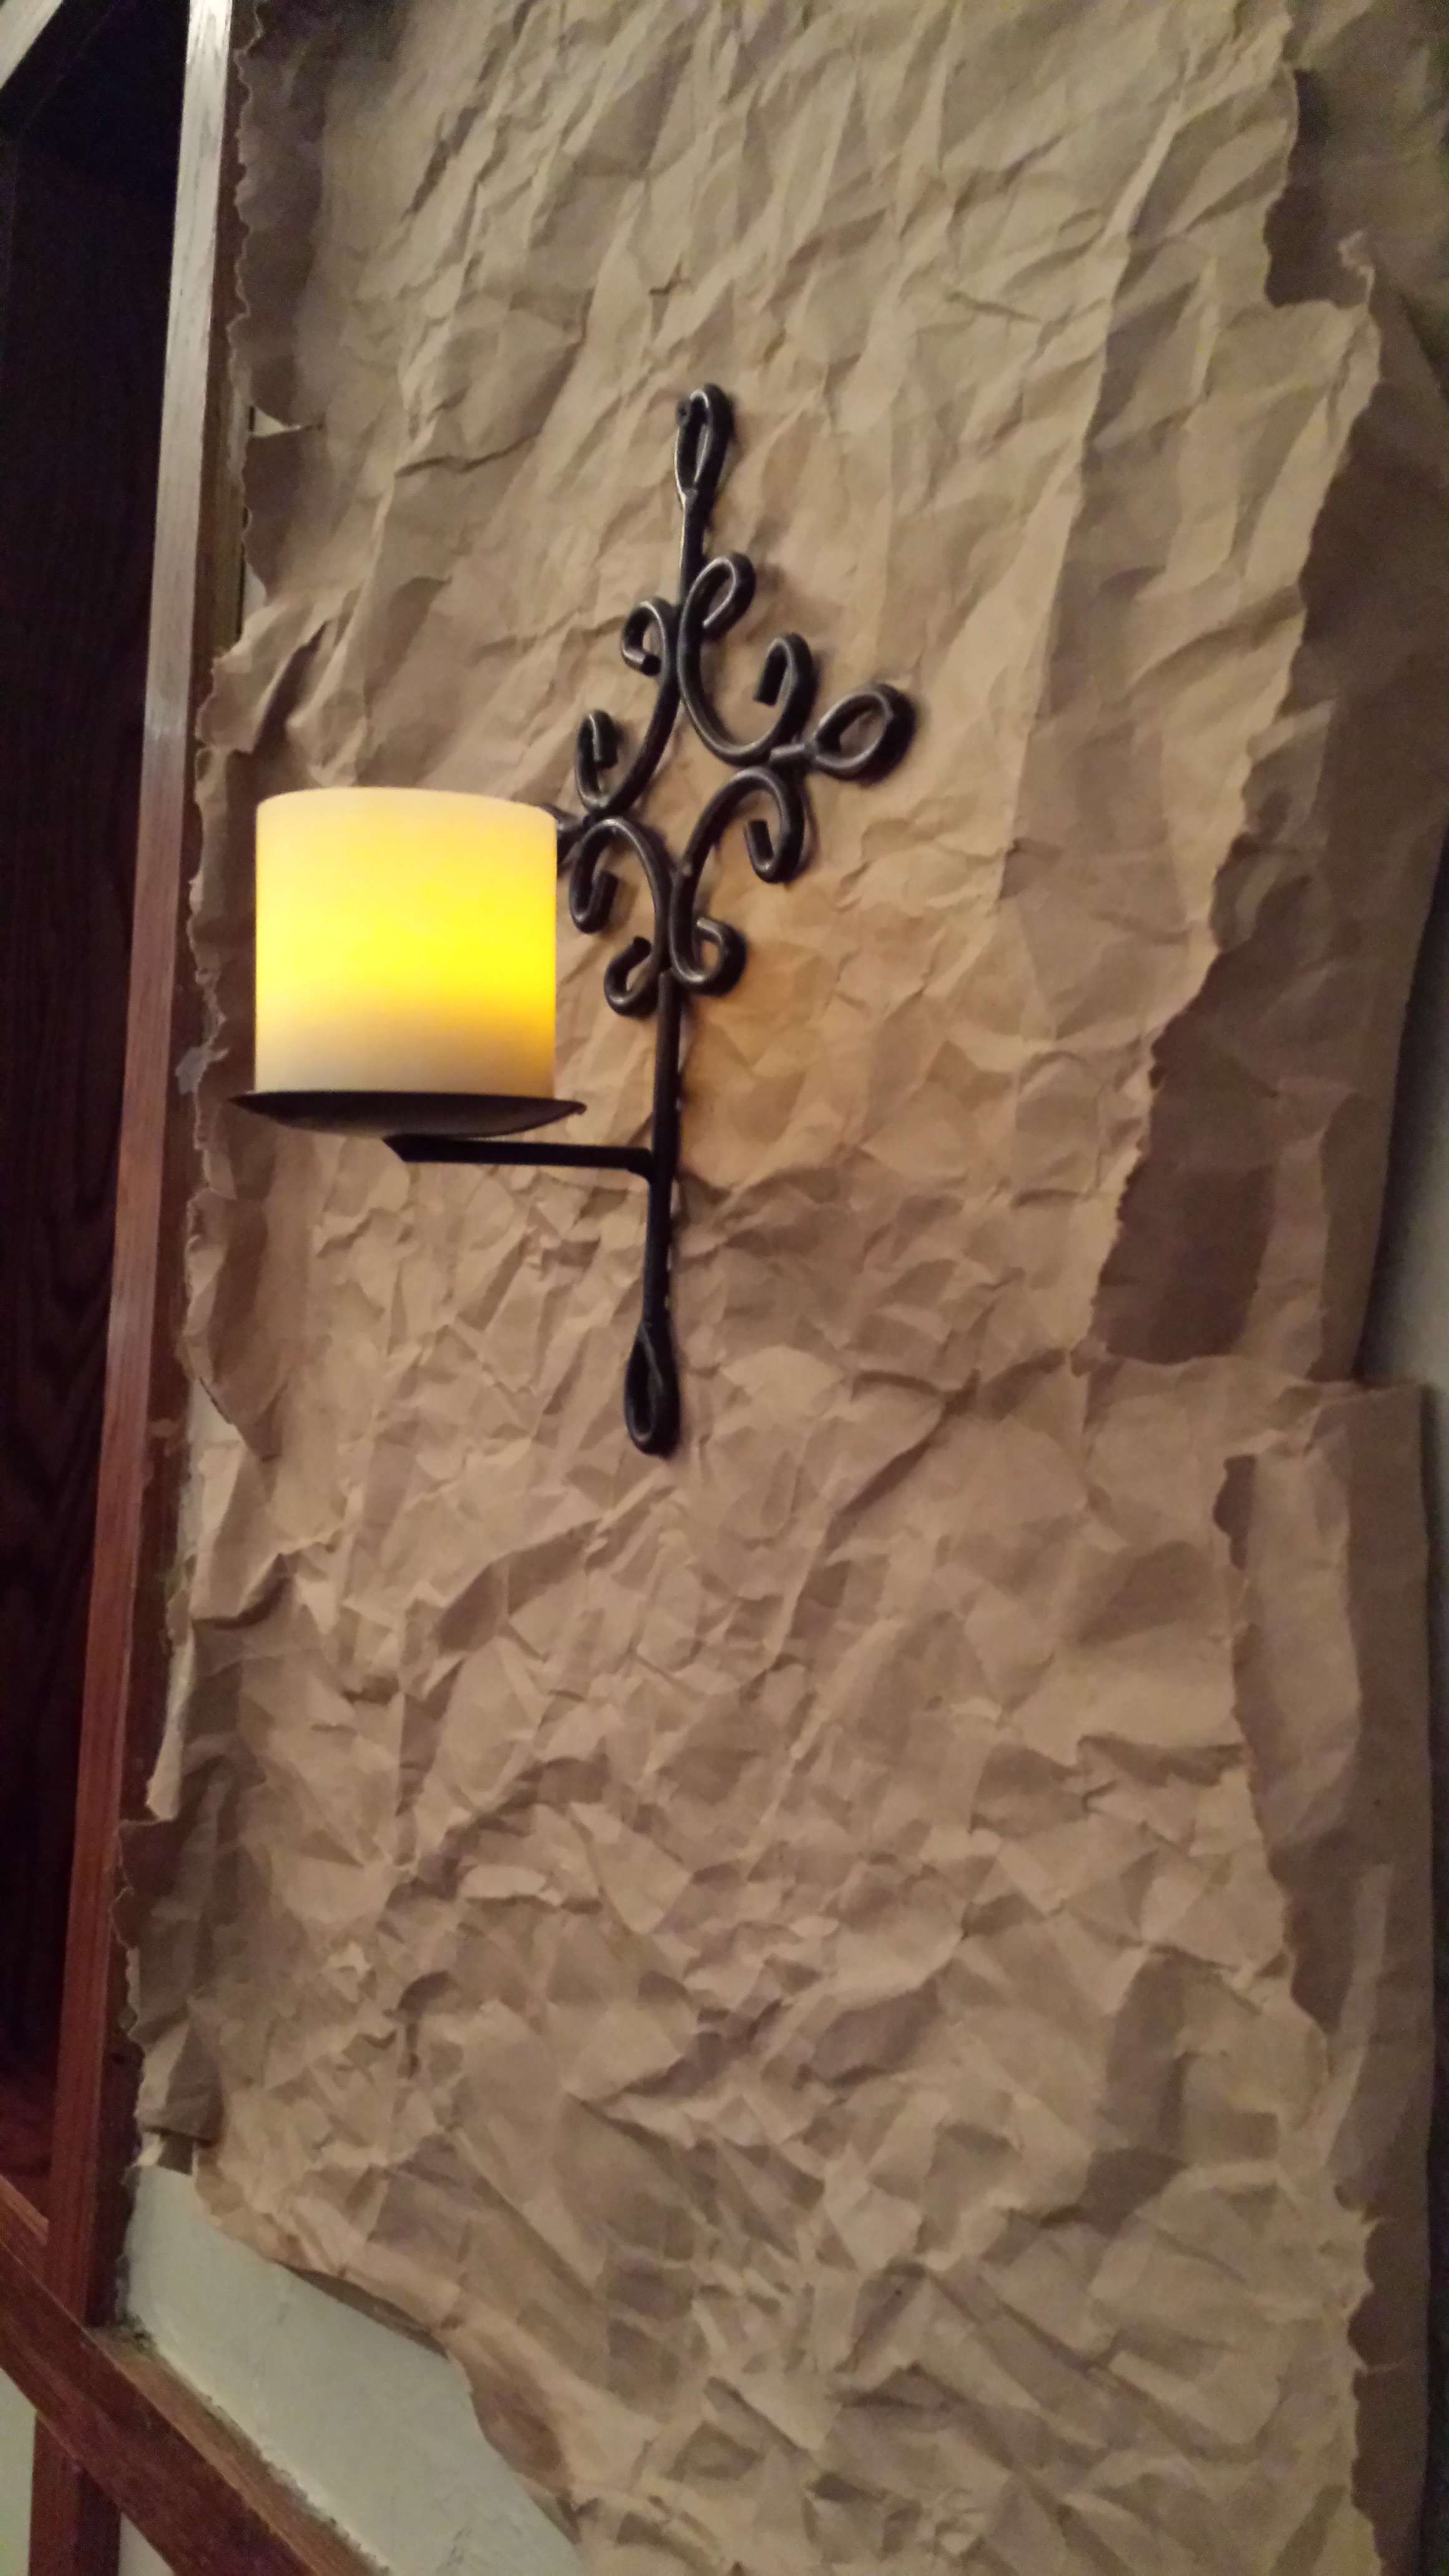
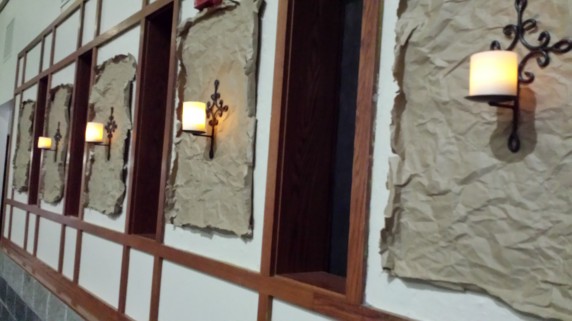
- Side walls: paper, sconces and BATTERY candles 🙂
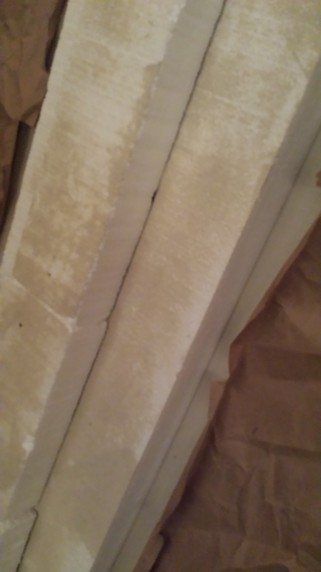
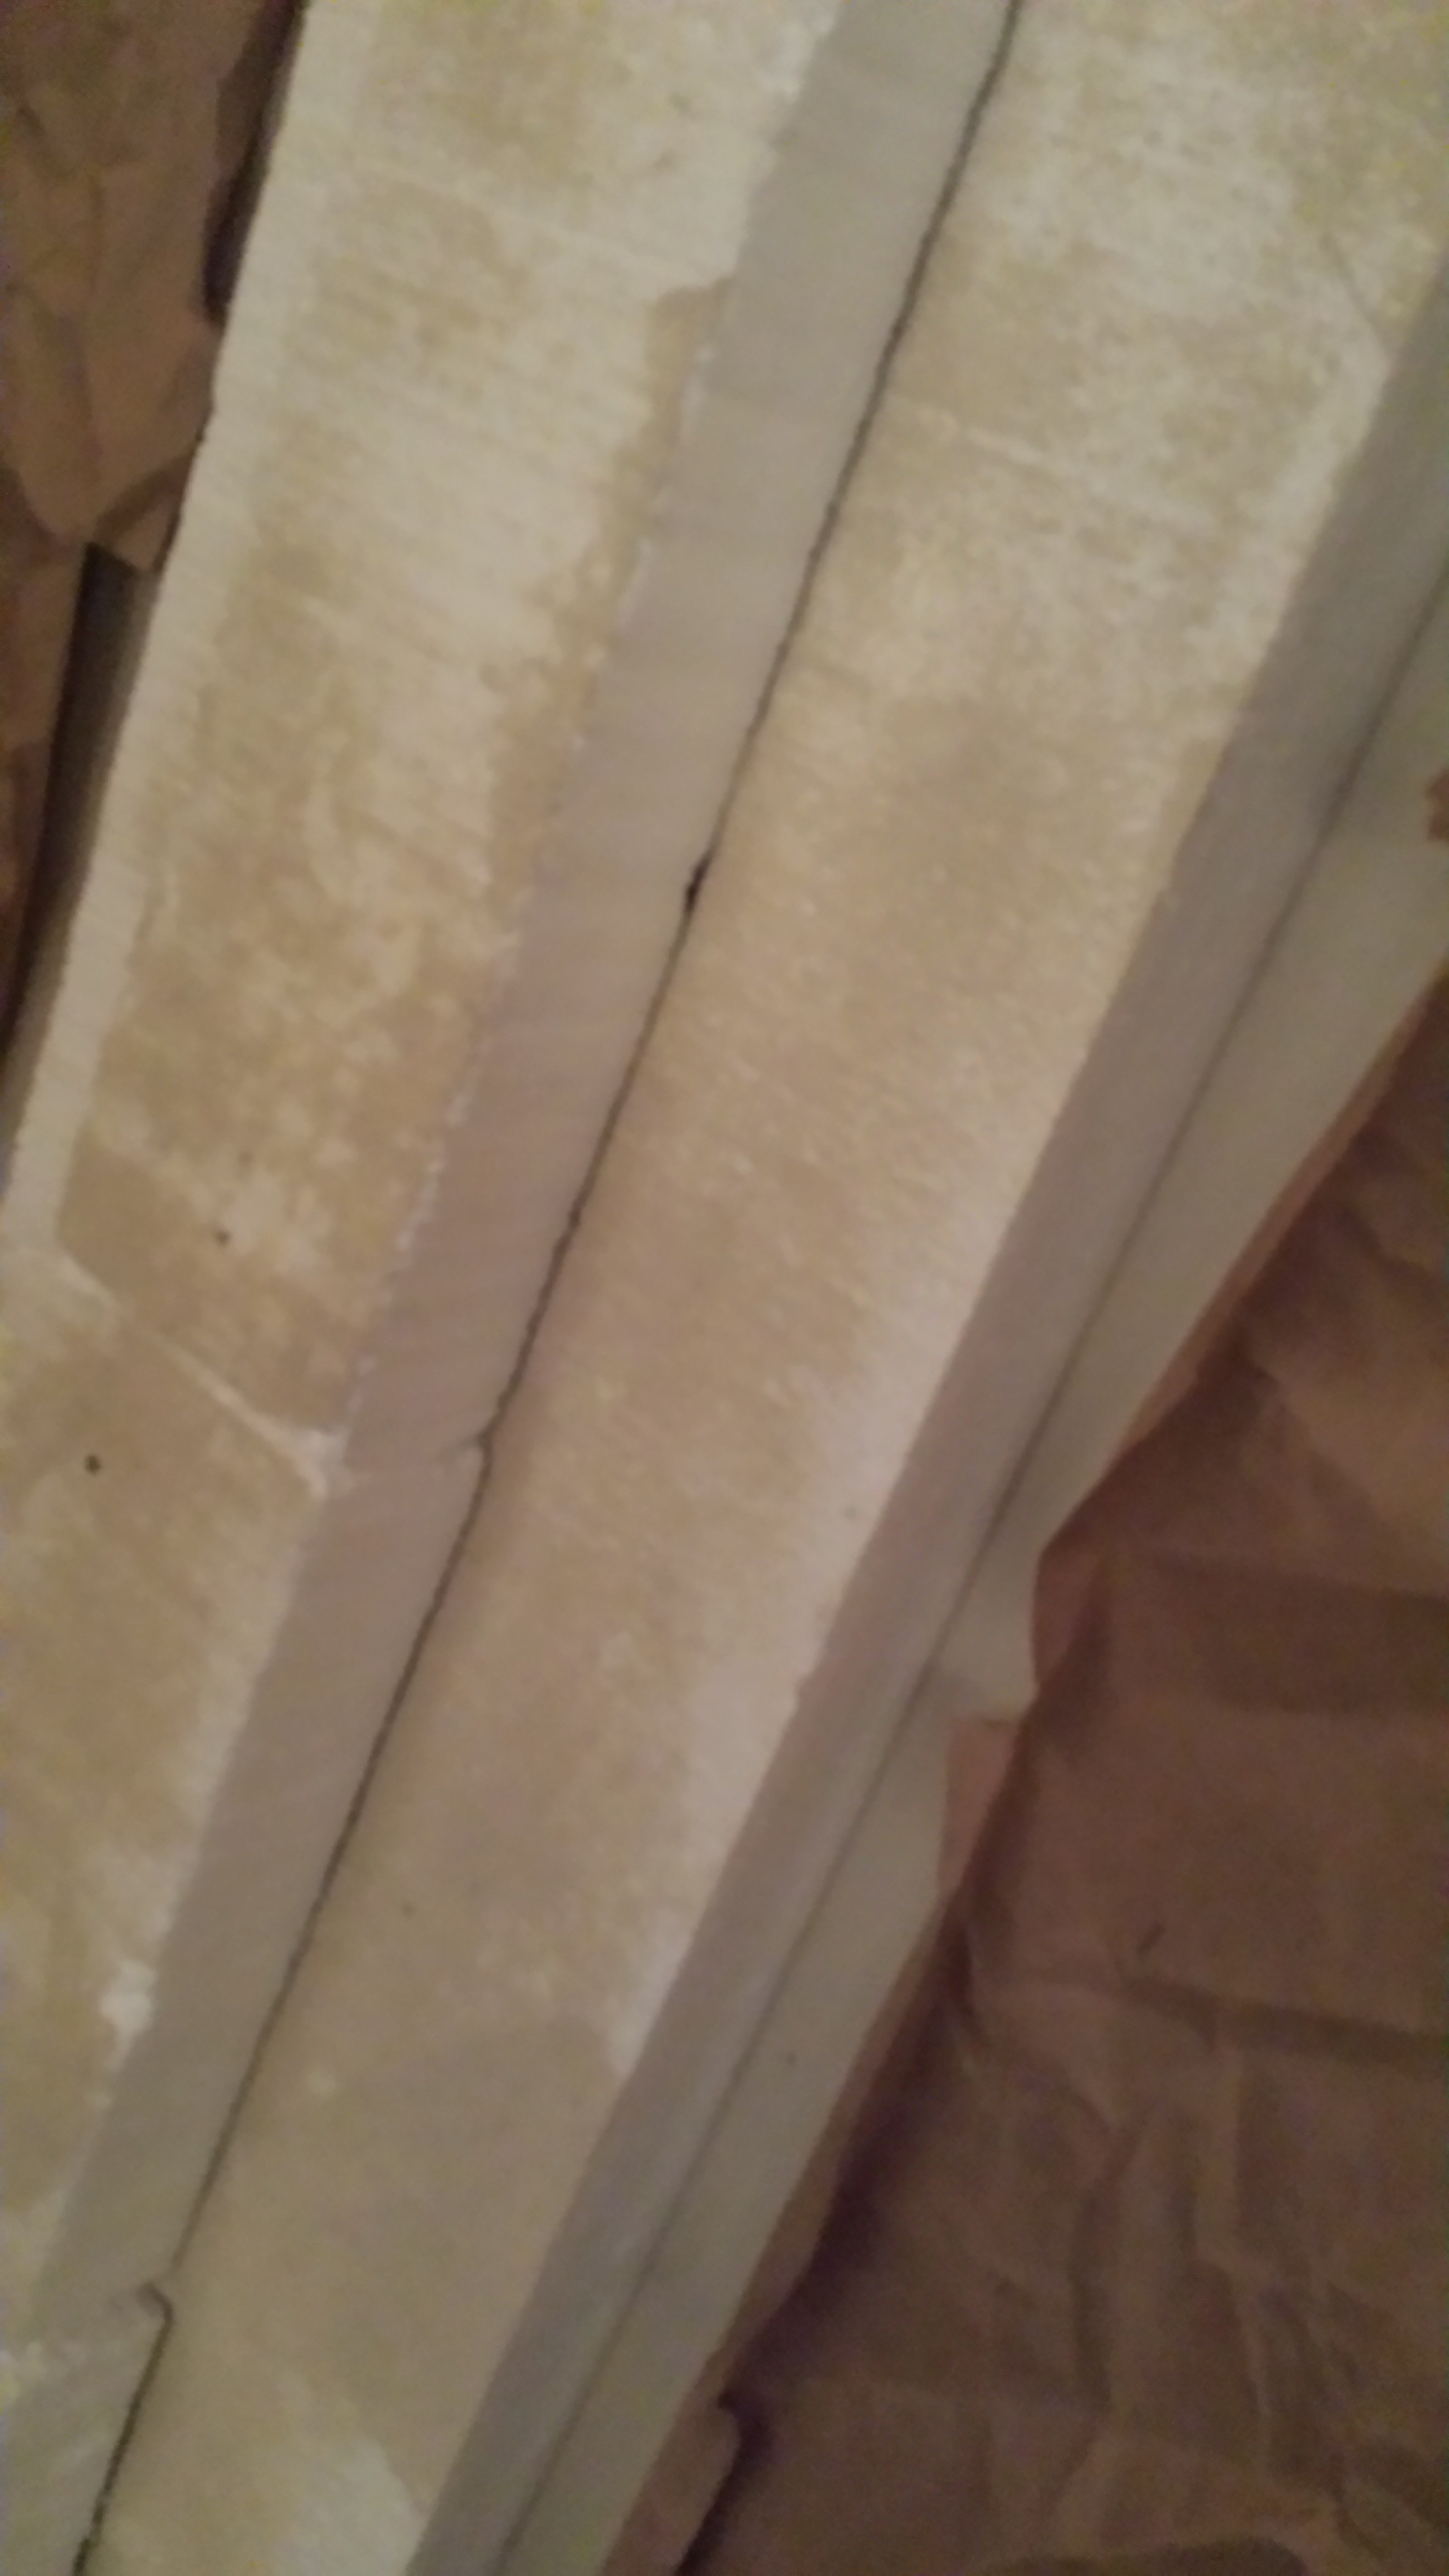
- Since our stage walls won’t hold the weight of real wood we used cut and paint-textured foam for the three crosses… secrets revealed!
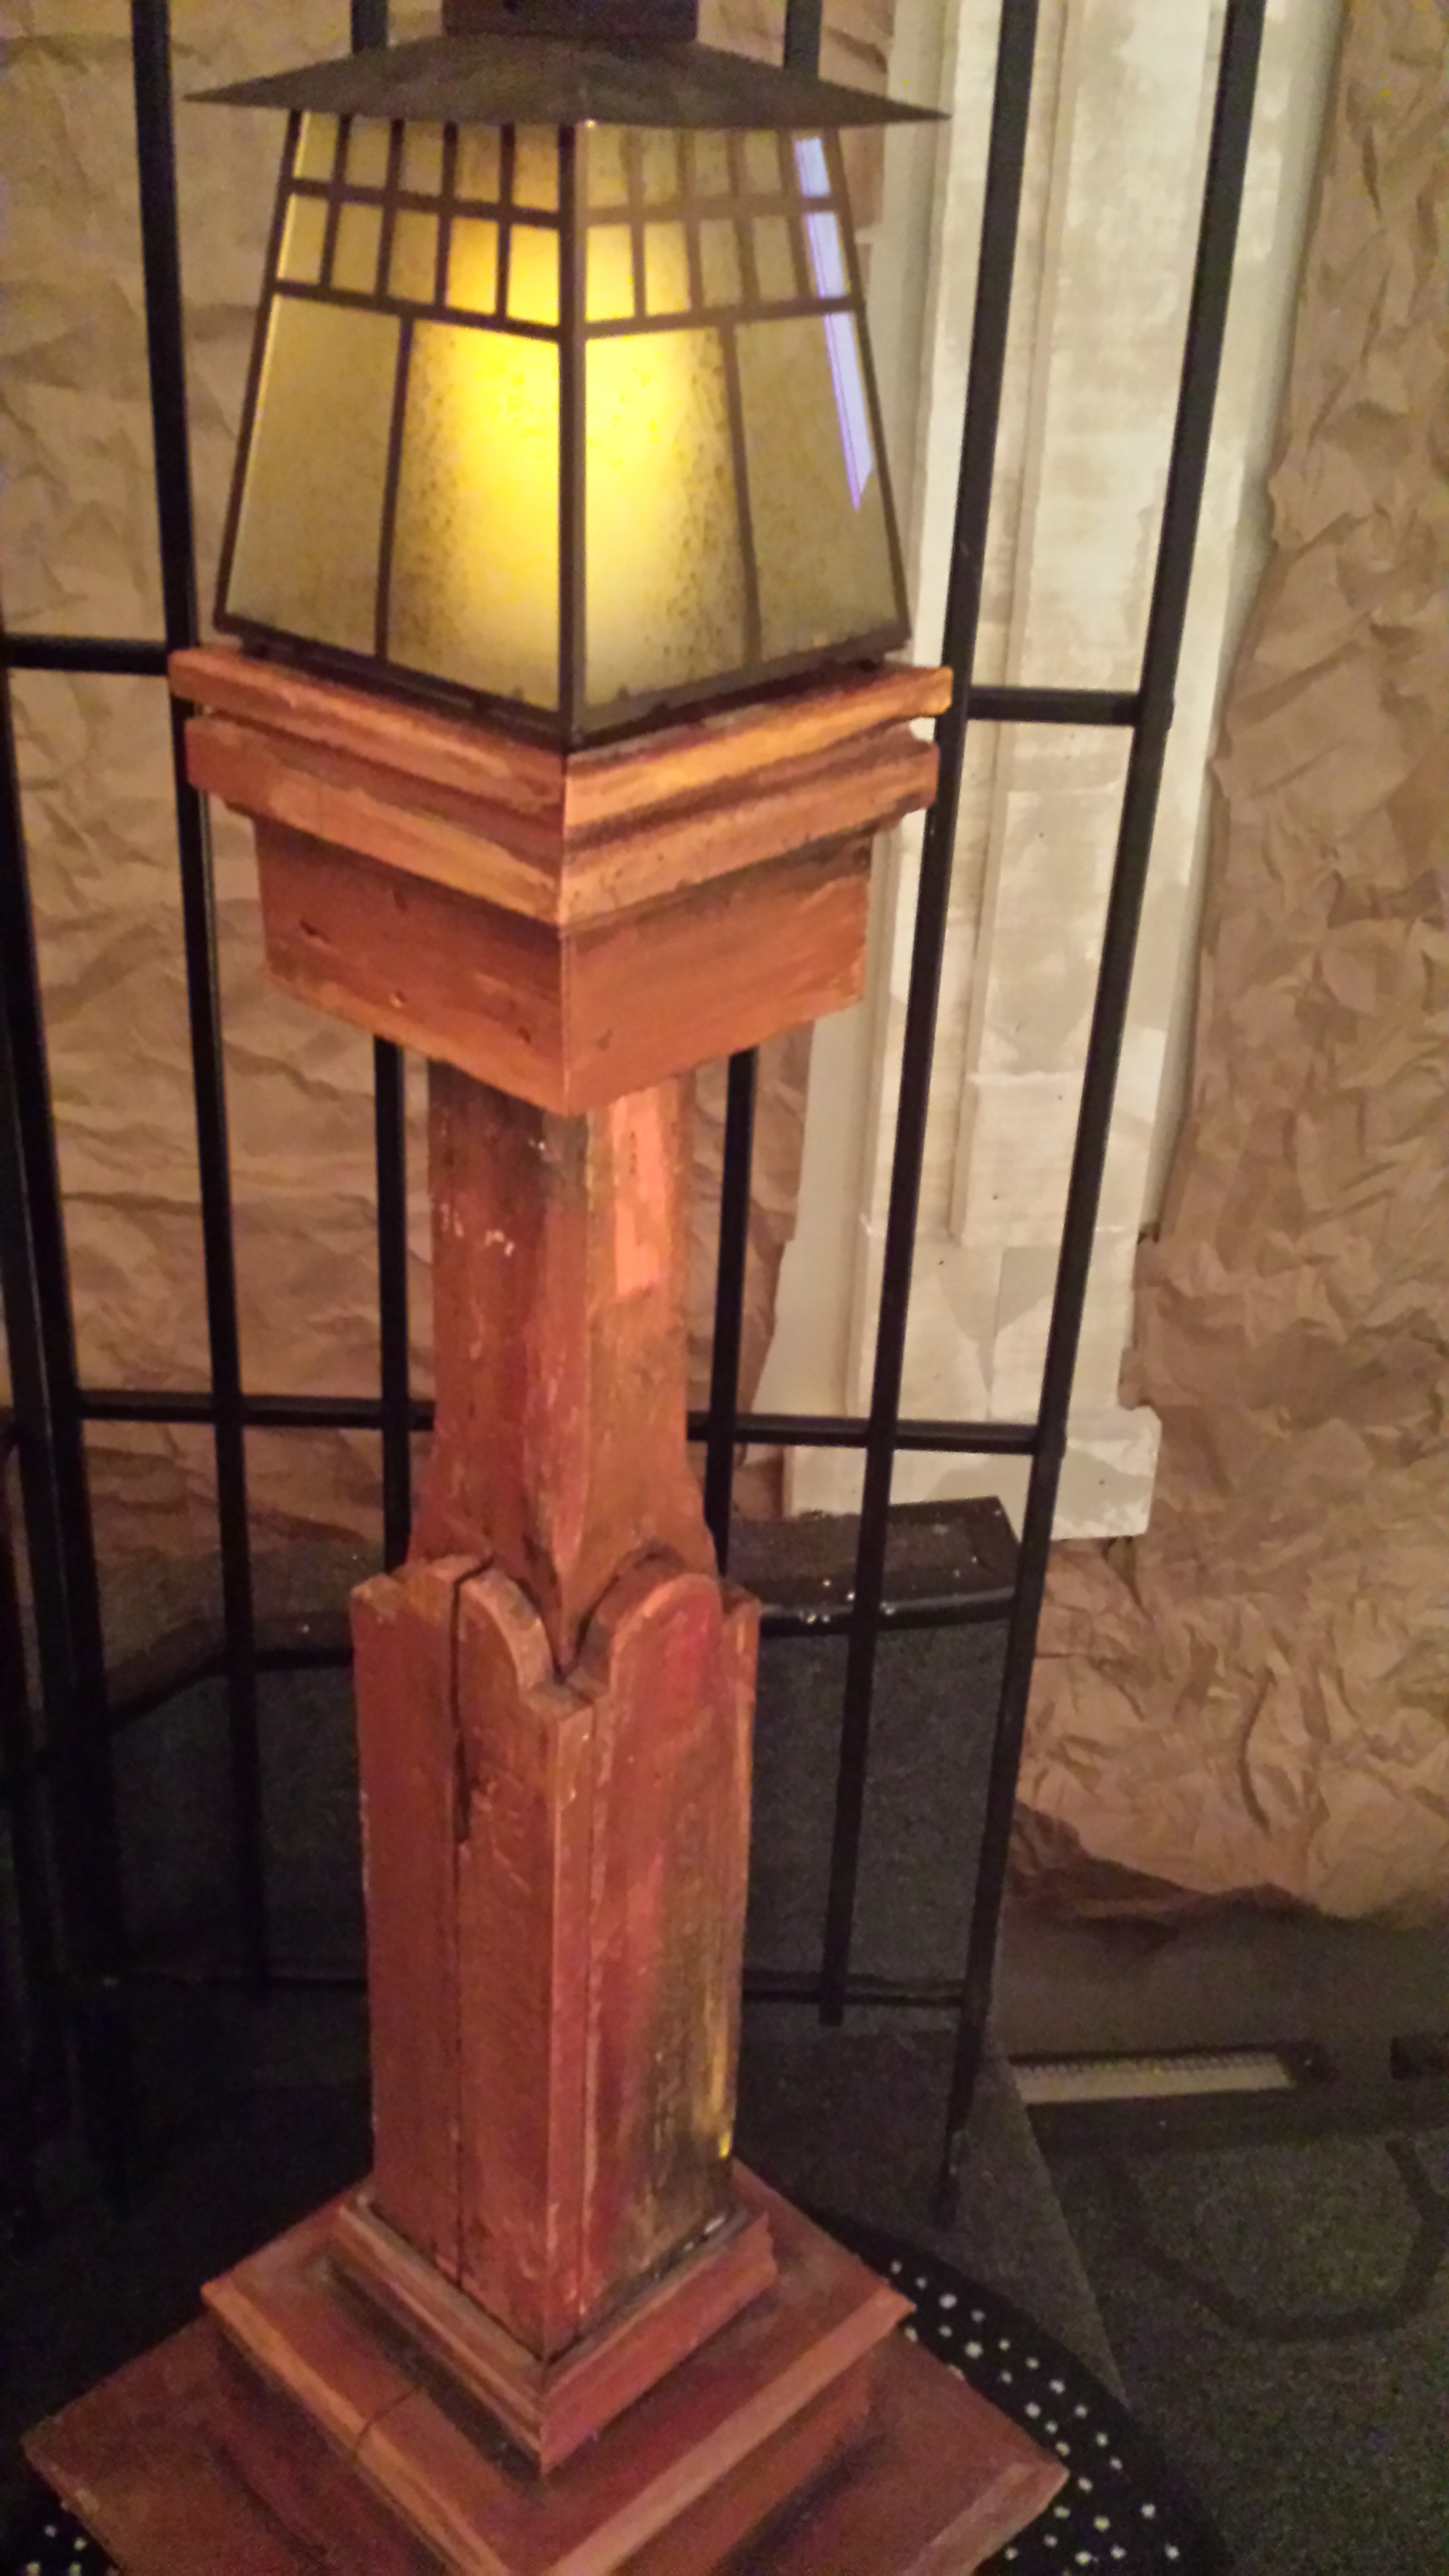
We’ve used these pedestals over and over. a makeover team servant originally crafted them out of old porch posts – stained in a dark rust. I have no idea where these lanterns came from – just found them in the cabinet one day.
Stage left. I kind of love this angle, especially the double exposure effect on the wall from a can light pointed towards the chandelier.

- …and full stage. Beauty On A Budget!
Thanks for sharing the “behind the scenes” info. I was wondering how it was accomplished.
Love to see how you think outside the box! Love your designs